Is your water pump making strange noises while failing to move water?
This frustrating problem, known as an air lock, can stop your entire system.
You are losing pressure and performance.
To clear air out of a water pump, you must first turn off the power. Then, you need to open a release valve or plug on the pump to let the trapped air escape while filling the pump casing with water. This process is called "priming" the pump.
An air-locked pump is a common issue for anyone managing a water system.
It can happen after an installation, during a power outage, or if the water source runs low.
Understanding why it happens and how to fix it is essential for maintaining a reliable water supply.
This guide will walk you through the entire process.
We will cover identifying the problem, the step-by-step solution, and how to prevent it from happening again.
Let's restore your pump's performance.
Why is There Air in My Water Pump?
Is your pump humming but not pumping?
Trapped air is the likely culprit, creating an air lock that stops water flow.
This can cause your pump to overheat and fail.
Air enters a water pump system through leaks in the suction line, a low water level in the source (like a well or tank), or after initial installation. Even tiny gaps in pipes or fittings can introduce enough air to disrupt the pump's operation completely.
Deeper Dive: The Sneaky Ways Air Enters Your System
Understanding the entry points for air is the first step toward a permanent solution.
A pump is designed to move liquid, not gas.
When air gets into the suction side, it breaks the vacuum the pump needs to draw water.
This is why the pump runs but fails to build pressure.
Approximately 70% of priming issues are traced back to leaks on the suction line.
Common Air Entry Points
Air can be introduced in several ways.
Some are obvious, while others are much harder to detect.
Let's break them down.
- Suction Line Leaks: The most frequent cause.
- Low Water Levels: The pump starts sucking air instead of water.
- Off-Gassing: Dissolved gases can come out of the solution under a vacuum.
- Initial Installation: Air is present in the empty pipes before the first use.
The Impact of Leaks
Even a pinhole-sized leak in the suction piping can cause major problems.
These leaks often occur at joints, fittings, or cracked pipes.
They might not leak water outwards because this part of the system is under a vacuum (negative pressure), so they suck air inwards instead.
Troubleshooting Air Entry Points
Use this table to pinpoint where air might be getting into your pump system.
This systematic approach can save you hours of guesswork.
| Potential Cause | How to Identify | Solution |
|---|---|---|
| Leaky Pipe Fittings | Apply a soapy water solution to joints and look for bubbles being sucked in while the pump is trying to run. | Tighten, reseal with thread tape or sealant, or replace the fitting. |
| Cracked Suction Pipe | Visually inspect the entire length of the suction pipe, especially if it's old PVC. Listen for a faint hissing sound. | Replace the damaged section of the pipe. A temporary patch is not a reliable fix. |
| Low Water Source | Check the water level in your well, tank, or reservoir. Ensure the intake pipe is submerged by at least 3-5 feet. | Lower the intake pipe or wait for the water source to replenish. Install a low-level cutoff switch. |
| Worn Pump Shaft Seal | Look for drips or water spray around the area where the motor shaft enters the pump housing. | This is a more complex repair. The mechanical seal needs to be replaced by a qualified technician. |
A well-maintained suction line is critical.
Studies show that a properly sealed system can improve pump efficiency by up to 15%.
Ensuring your system is airtight prevents frustrating air locks and protects your pump from damage.
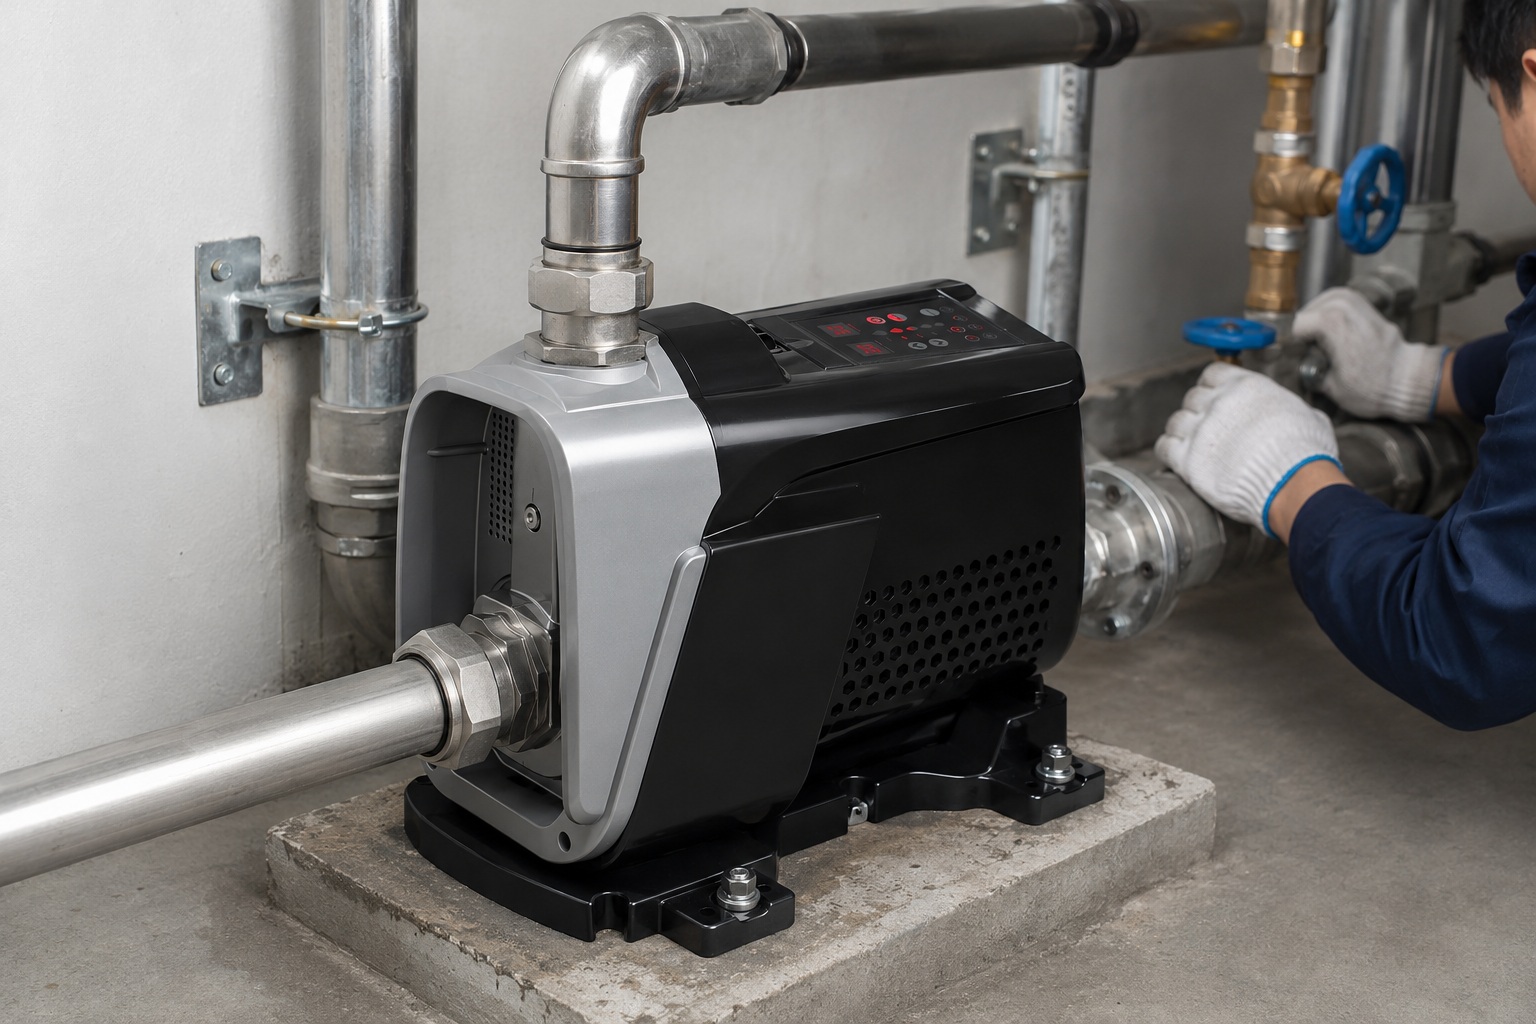
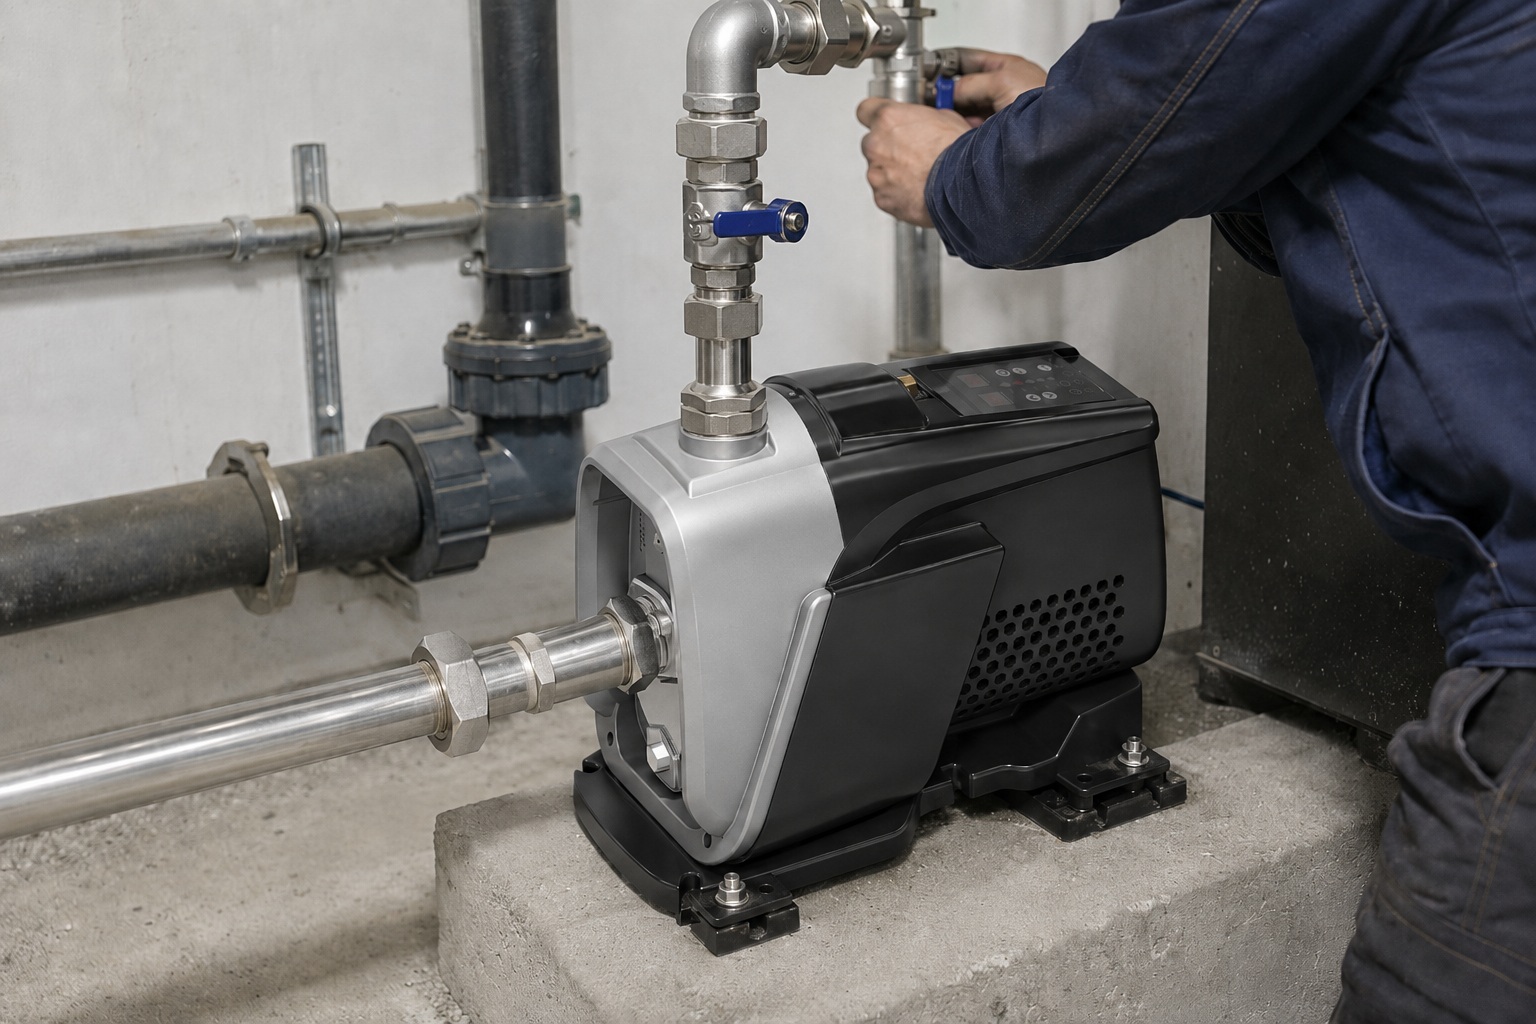
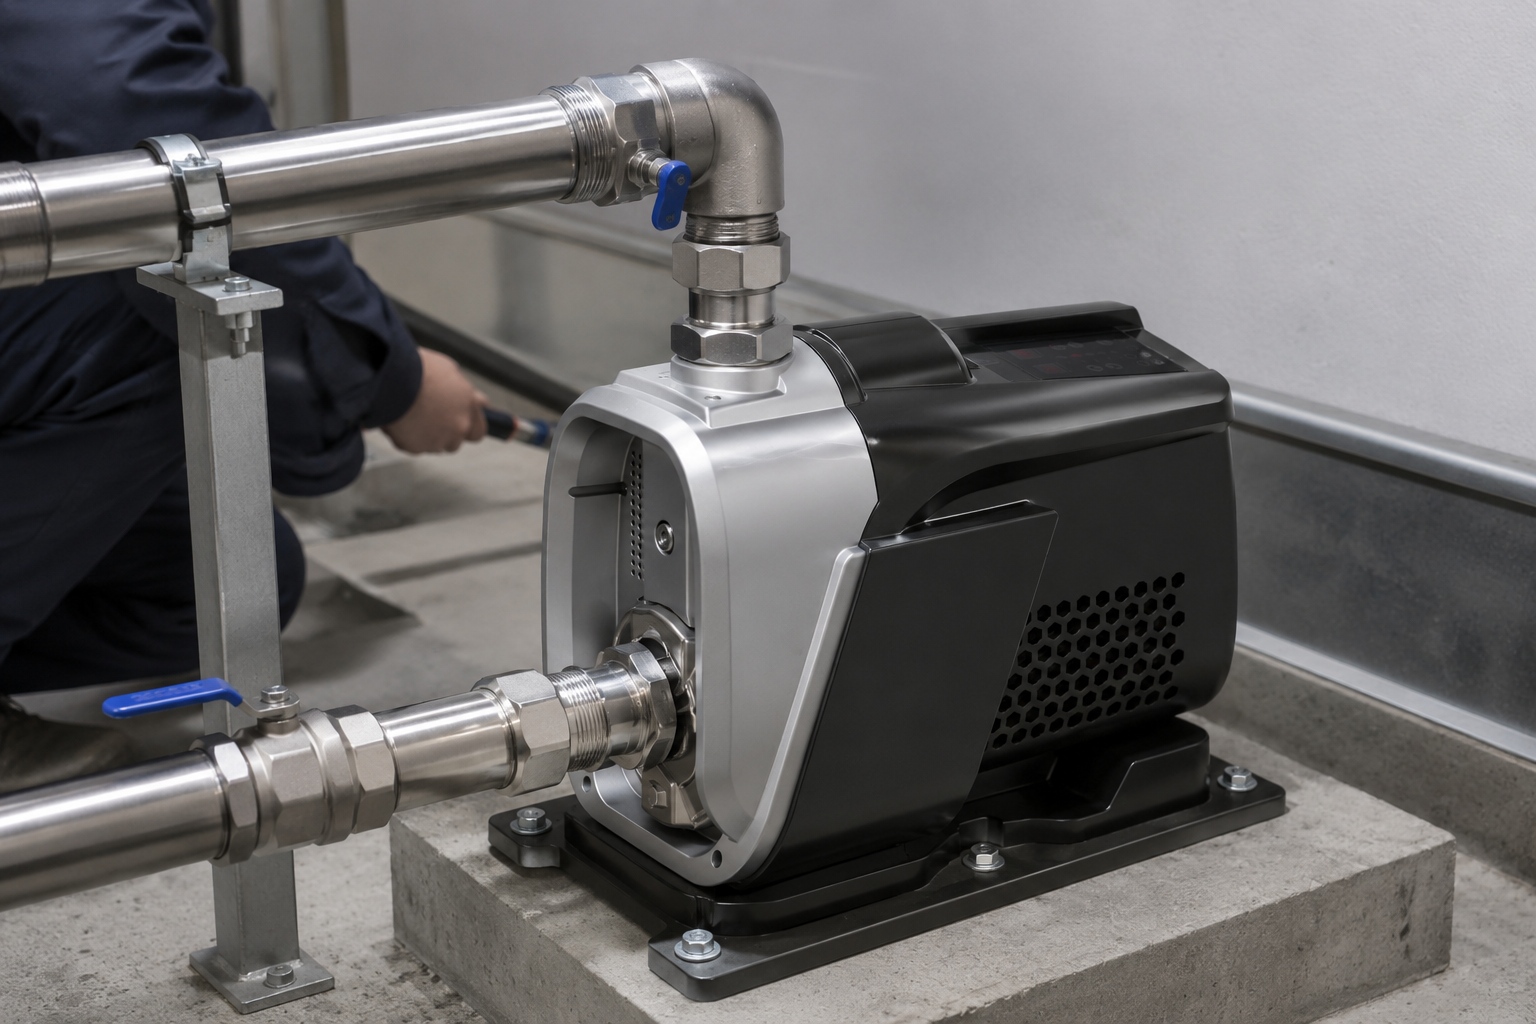
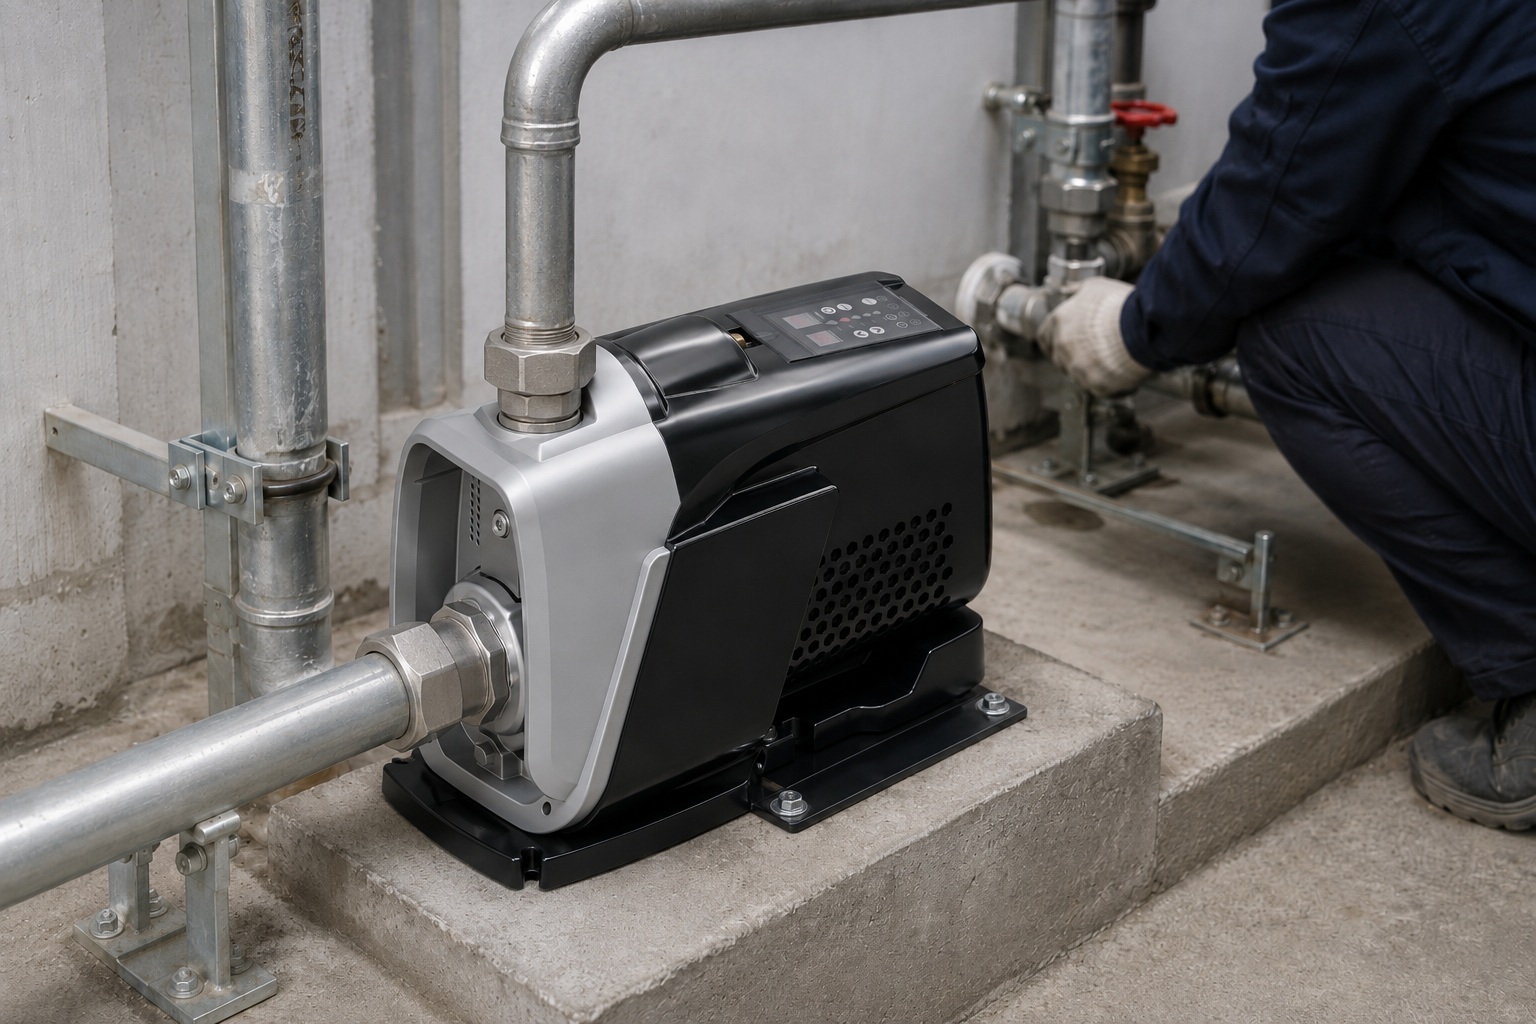
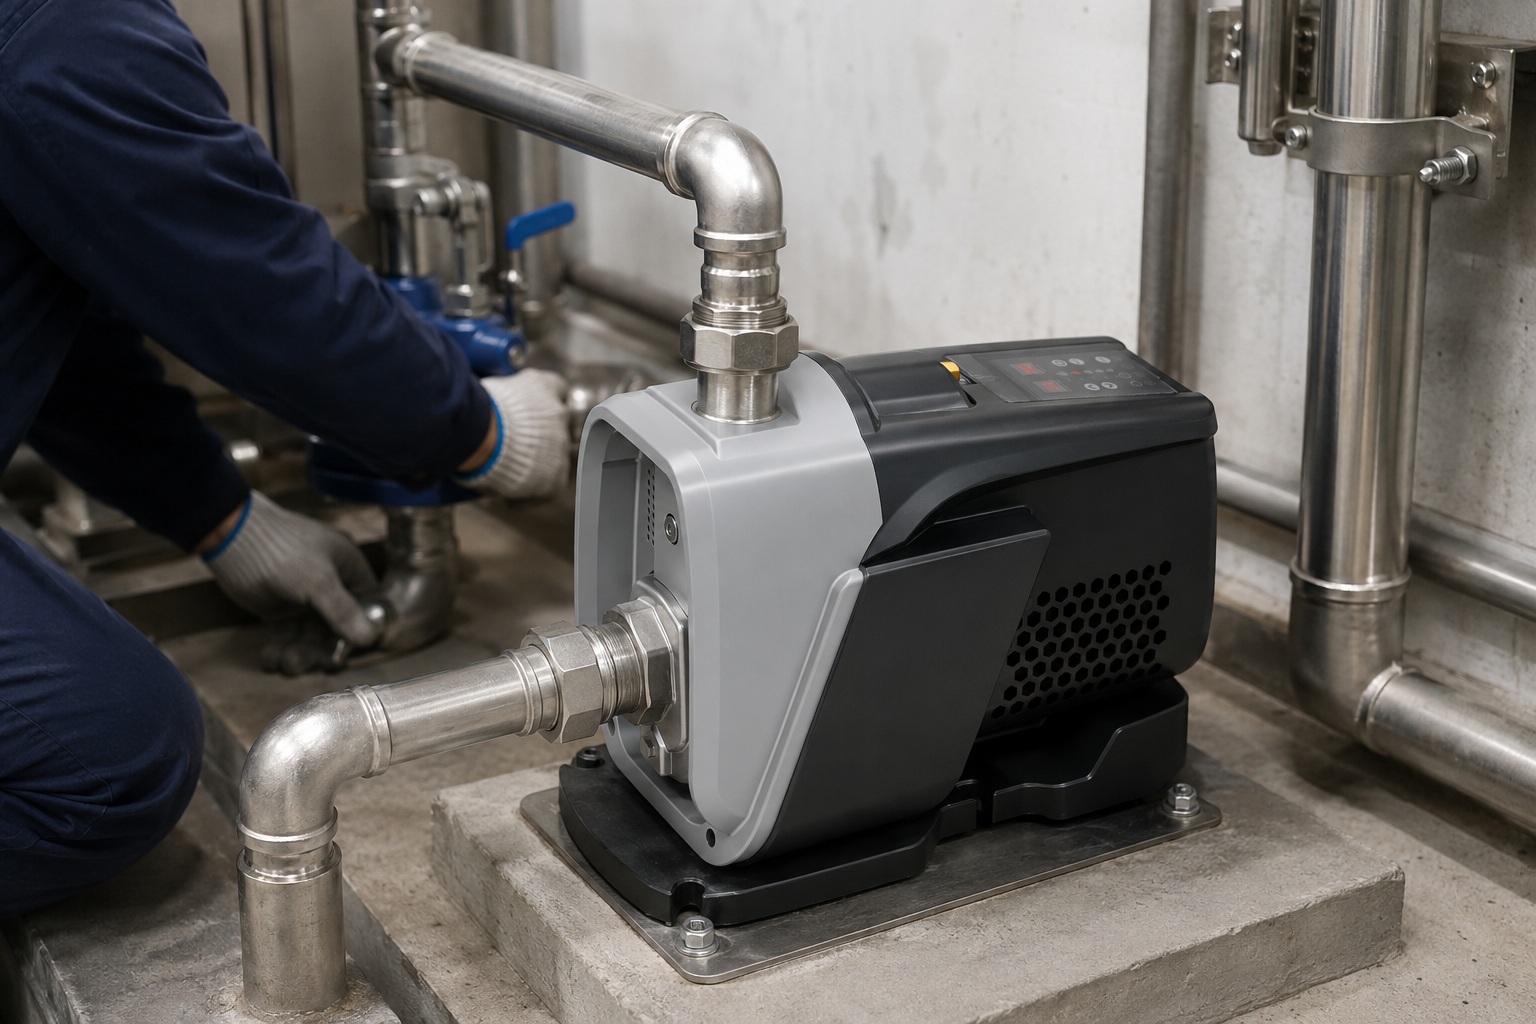
Step-by-Step Guide to Bleeding a Water Pump
Are you ready to fix the problem but unsure where to start?
Bleeding a pump, or priming it, is a straightforward process.
Following the steps carefully will get your water flowing again.
To bleed a pump, turn it off and close the outlet valve. Locate and slowly open the priming plug or air bleed valve at the top of the pump casing. Pour water into the pump until it's full and all air has escaped, then close the plug and restart the pump.
Deeper Dive: The Priming Process in Detail
Priming is simply the act of replacing trapped air with water.
This creates the necessary conditions for the impeller to generate pressure and move the water.
This procedure applies to most centrifugal pumps, including booster pumps, well pumps, and irrigation pumps.
However, some modern pumps, like intelligent variable frequency drive (VFD) pumps, may have automatic priming features or different procedures.
Always consult the manufacturer's manual first.
Step 1: Safety First - Disconnect Power
Before you do anything, you must ensure the pump cannot turn on accidentally.
This is the most critical step for your safety.
Go to your electrical panel and turn off the circuit breaker that powers the pump.
You can also unplug it if it has a power cord.
If you are a distributor, stress this to your end-users; electrical safety is non-negotiable.
Step 2: Prepare the Pump
Now you need to give the water a place to go.
Close the valve on the outlet side of the pump.
This stops water from simply flowing out into the system as you try to fill the pump.
It helps build pressure during the priming process.
Step 3: Locate and Open the Priming Port
Find the priming plug or valve.
It is almost always located at the very top of the pump casing (the "wet end" or "volute").
It might be a square-headed plug, a wing nut, or a small valve.
You may need a wrench to loosen it.
Open it slowly.
You might hear a hissing sound as trapped air escapes.
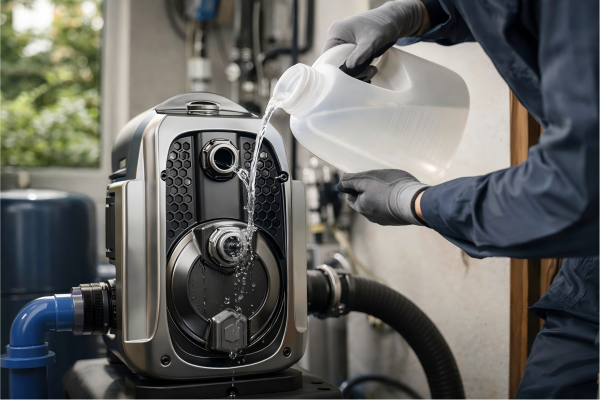
Mastering the Fill
This is the core of the process.
It must be done correctly for the prime to hold.
| Action | Detailed Instruction | Why It's Important |
|---|---|---|
| Slowly Pour Water | Using a funnel and a bucket, slowly pour clean water into the priming port. Don't rush this. | Pouring too fast can create more air pockets. A slow, steady fill allows all the air to bubble up and out. |
| Fill Completely | Keep pouring until water fills the casing and overflows from the port. You should see a solid stream of water with no more air bubbles. | The pump casing and the suction line must be 100% full of water. An estimated 95% full is not good enough and will fail. |
| Replace the Plug | Once full, securely tighten the priming plug. Use thread seal tape for a good, airtight seal. | An improperly sealed plug is a common source of new air leaks, undoing all your work. |
Step 4: Restart and Check
Now it's time to see if it worked.
Open the outlet valve slightly.
Go back and turn the power to the pump back on.
The pump should start up, and you should see the pressure gauge start to rise steadily.
Listen for a smooth running sound, not the rattling noise of an air lock.
If the pressure builds and water flows, you have succeeded.
If not, you may need to repeat the process.
A persistent failure to prime usually indicates an ongoing air leak in the suction line.
Essential Tools to Get the Job Done
Feeling unprepared for the task?
Having the right tools on hand before you start makes the process quick and easy.
You don't need a professional workshop to do this.
You will need a wrench to open the priming plug, a funnel, and a bucket of clean water. It's also wise to have thread seal tape to ensure the plug is airtight when you replace it. These simple tools are all that's required for a successful pump priming.
Deeper Dive: Assembling Your Priming Toolkit
Being prepared turns a potential headache into a simple maintenance task.
For water pump distributors, providing a basic "priming kit" or a checklist for new customers can be a great value-add.
It shows you care about their success after the sale.
A well-organized toolkit ensures you aren't running around looking for items with the power off and the water down.
Let's break down exactly what you need and why.
The Must-Have Tools
These items are non-negotiable for priming a pump.
Without them, you simply can't complete the job correctly.
- Adjustable Wrench or Pipe Wrench: The priming plug can be tight. A good wrench gives you the leverage to open it without stripping the head.
- Bucket of Water: You'll need at least one to two gallons (about 5-10 liters) of clean water. The exact amount depends on the size of your pump and suction line.
- Funnel: The priming port is often small. A funnel prevents spills and ensures the water goes directly into the pump casing.
The "Good-to-Have" Tools
These items make the job easier and more reliable.
They help prevent future problems.
Investing a few extra dollars here can save you from repeating the process.
Recent surveys of field technicians show that using new thread sealant during reassembly reduces callback rates by over 40%.
Your Complete Priming Checklist
Use this table to assemble your toolkit.
Having everything ready will make you feel more confident and ensure a professional result.
| Tool | Purpose | Pro Tip |
|---|---|---|
| Adjustable Wrench | To loosen and tighten the priming plug. | Choose one with a wide jaw to fit various plug sizes. Wrap the plug in a cloth to prevent scratches. |
| Bucket | To hold the clean water for priming. | Use a dedicated, clean bucket to avoid introducing dirt or debris into your pump. |
| Funnel | To guide water into the small priming port without making a mess. | A funnel with a flexible spout can be very helpful for pumps in tight spaces. |
| Thread Seal Tape (Teflon Tape) | To create an airtight seal on the priming plug threads. | Wrap the tape 3-4 times in the same direction the plug tightens (usually clockwise). |
| Rags or Towels | For cleaning up spills and wiping down the pump. | Keep the area around the pump motor dry to prevent electrical hazards. |
| Soapy Water Solution | To test for air leaks in the suction line if priming fails. | A simple mix of dish soap and water in a spray bottle works perfectly. |
Having these items ready transforms the job from a frustrating challenge into a routine check.
It's a small preparation that makes a huge difference in efficiency and success rate.
It ensures the pump is not just working, but working correctly and safely.
How to Prevent Air From Entering Your Pump System
Are you tired of repeatedly bleeding your water pump?
Fixing the symptom is one thing; curing the disease is another.
Proactive prevention will save you time and protect your equipment.
To prevent air from entering your system, regularly inspect all suction-side pipes and fittings for leaks. Ensure your water source level is high enough, and install a quality check valve on the suction line. This keeps the pump and pipes full of water.
Deeper Dive: Creating an Airtight, Failsafe System
A pump that constantly loses its prime is a sign of an underlying issue.
Solving that issue is the key to long-term reliability.
For importers and distributors, educating clients on these preventative measures can significantly reduce customer complaints and warranty claims.
A well-installed system is a reliable system.
Up to 80% of repeating air lock issues are due to preventable problems in the system's design or maintenance.
The Role of the Check Valve
A check valve, or foot valve, is one of your best defenses.
This one-way valve is installed at the beginning of the suction line (in the well or tank).
It allows water to be drawn into the pump but prevents it from draining back out when the pump shuts off.
This keeps the suction line and pump housing full of water, maintaining the prime automatically.
If your system loses prime, a faulty or missing check valve is a primary suspect.
Best Practices for Prevention
Implementing these strategies will build a robust and reliable water pump system.
They address the root causes of air intrusion.
1. Meticulous Installation of the Suction Line
The suction line is the most vulnerable part of the system.
- Use High-Quality Materials: Avoid cheap, thin-walled pipes that can crack easily.
- Minimize Joints: Every joint is a potential leak point. Use single, continuous lengths of pipe where possible.
- Seal Every Connection: Use high-quality thread sealant or tape on every threaded fitting. Tighten them properly but do not over-tighten, as this can crack plastic fittings.
2. Maintain Your Water Source
Never let the pump run dry.
This is a leading cause of both air lock and catastrophic pump damage.
| Water Source | Preventative Action | Recommended Technology |
|---|---|---|
| Well | Ensure the foot valve is set well below the lowest anticipated water level (the drawdown level). | Install a low-water cutoff switch or a modern VFD pump with built-in dry-run protection. |
| Tank | Monitor water levels regularly. Set the pump intake several inches above the tank floor to avoid sucking in sediment. | Use a float switch to automatically turn the pump off when the water level is too low. |
| Reservoir/Pond | Keep the intake screen clean to ensure unrestricted flow. Secure the intake pipe so it cannot float to the surface. | Schedule regular cleaning of the intake filter. |
3. Consider Upgrading Your Pump Technology
Modern pumps offer advanced protection.
Intelligent permanent magnet variable frequency (VFD) pumps are a game-changer.
They can detect a dry-run condition by monitoring power consumption and pressure.
When they sense they are pumping air instead of water, they can automatically shut down to prevent damage.
Many also have sophisticated software that can attempt to re-prime automatically or alert the user to a problem.
Investing in this technology offers peace of mind and significantly extends the life of the equipment.
It turns a manual, reactive process into an automated, proactive system.
Conclusion
Clearing air from a water pump is a vital skill.
By following these steps, you can restore flow, and by implementing preventative measures, you can ensure long-term, trouble-free operation.
FAQs
How do I know if my pump has an air lock?
You will hear the pump motor running, but no water will come out, or it will sputter. The pressure gauge will also read zero or very low.
Can an air lock damage a pump?
Yes. Running a pump with an air lock can cause it to overheat and burn out the motor or damage the mechanical seal, leading to expensive repairs.
How often should I have to prime my pump?
You should only need to prime a pump at initial installation or after it has been drained for service. If you have to do it regularly, there is an air leak.
What is the difference between a check valve and a foot valve?
A foot valve is a type of check valve that also has a strainer on the end. It is used at the bottom of a suction line in a well or tank.
Why does my pump lose prime when it's off?
This is usually caused by a faulty foot valve or check valve. The valve is not holding the water in the pipe, allowing it to drain back and be replaced by air.
Can I use any water to prime the pump?
It is best to use clean water. Using dirty water can introduce debris into the pump, which could clog or damage the impeller.
Is it possible for a pump to be self-priming?
Yes, some pumps are designed to be self-priming. They can clear air from the suction line automatically, but they still need to be filled with water on the very first use.