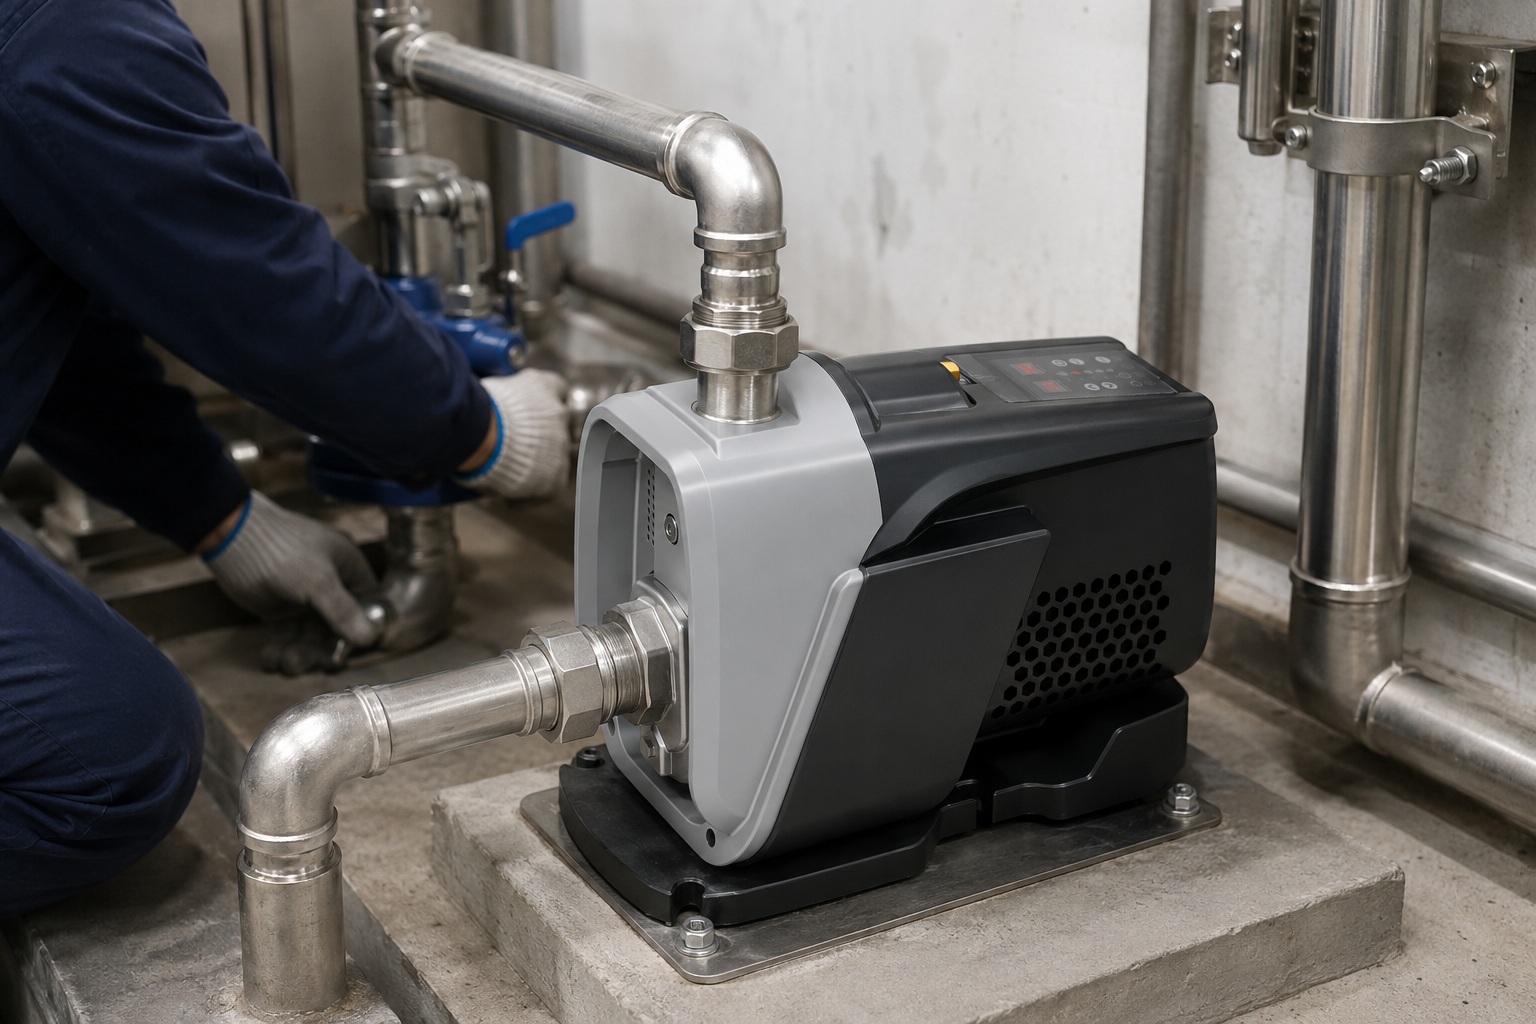
Struggling with a multistage pump that won't start? Air in the system can cause severe damage. Discover the simple steps to prime it correctly and ensure efficient, long-lasting operation.
Priming a multistage pump involves completely filling the pump casing and suction line with liquid before start-up. This process removes all air, preventing the impeller from spinning uselessly (air-binding) and avoiding critical damage from overheating, which ensures the pump operates efficiently and safely from the very first second.
Priming isn't just a recommendation; it's a fundamental requirement for the health and performance of your centrifugal pump system. Without proper priming, you risk immediate operational failure and long-term damage that could have been easily avoided. This guide will walk you through the essential concepts, detailed methods, and critical safety checks to ensure you prime your multistage pump like a seasoned professional every time, safeguarding your investment and maintaining peak system efficiency.
What is Pump Priming and Why is it Crucial for Multistage Pumps?
Your new multistage pump is ready, but it won't move a single drop of water. This frustrating situation, known as air-binding, is a direct result of improper priming.
Pump priming is the process of removing air from the pump casing and suction piping and filling it with the liquid to be pumped. It is absolutely essential because multistage pumps are not self-priming; they cannot pump air and will suffer severe mechanical damage if run dry.
A Deeper Look into Priming's Importance
A multistage pump uses a series of impellers to progressively build pressure.
These impellers are designed to work with incompressible liquids, not gases like air.
When the pump casing is filled with air, the spinning impellers cannot create the low-pressure zone needed to draw liquid into the pump.
The impeller will just spin in the air, creating friction and generating a significant amount of heat.
This is a critical failure state with severe consequences.
Data shows that up to 40% of premature pump failures can be linked to operational errors, with improper priming being a leading cause.
Running a pump dry for even a few seconds can be catastrophic.
Consequences of Not Priming
Failing to prime a multistage pump leads to a cascade of problems that are both immediate and damaging.
Understanding these risks underscores why priming is a non-negotiable step in pump operation.
- Overheating and Component Failure: With no liquid to cool and lubricate the internal components, the temperature inside the pump casing can rise dramatically. This can cause the wear rings to seize, the mechanical seal faces to crack, and plastic components like impellers or diffusers to melt or warp. Repairing this damage is often more expensive than the initial cost of the pump.
- Mechanical Seal Damage: The mechanical seal is one of the most critical and sensitive components. It requires a thin film of liquid between its faces to stay cool and lubricated. Running dry causes the seal faces to heat up and shatter within seconds, leading to major leaks and costly downtime. Approximately 70% of seal failures are attributed to running dry.
- Cavitation-like Damage: Even if some liquid is present, pockets of air can cause phenomena similar to cavitation. Air bubbles collapse violently as they pass through the high-pressure stages, creating shockwaves that can erode impeller surfaces and pump casings over time, drastically reducing the pump's lifespan and efficiency.
The table below summarizes the key risks associated with dry-running a multistage pump.
| Risk Category | Specific Component Affected | Consequence | Estimated Failure Time |
|---|---|---|---|
| Thermal Damage | Mechanical Seal, Bearings | Seal face cracking, bearing seizure, casing warp | 5-30 seconds |
| Mechanical Damage | Impellers, Wear Rings | Impeller erosion, wear ring seizure | 30-90 seconds |
| Operational Failure | Entire Pump Assembly | No flow, no pressure, complete system shutdown | Immediate |
By strictly following proper priming procedures, you can eliminate these risks entirely.
Step-by-Step Guide to Manual Priming
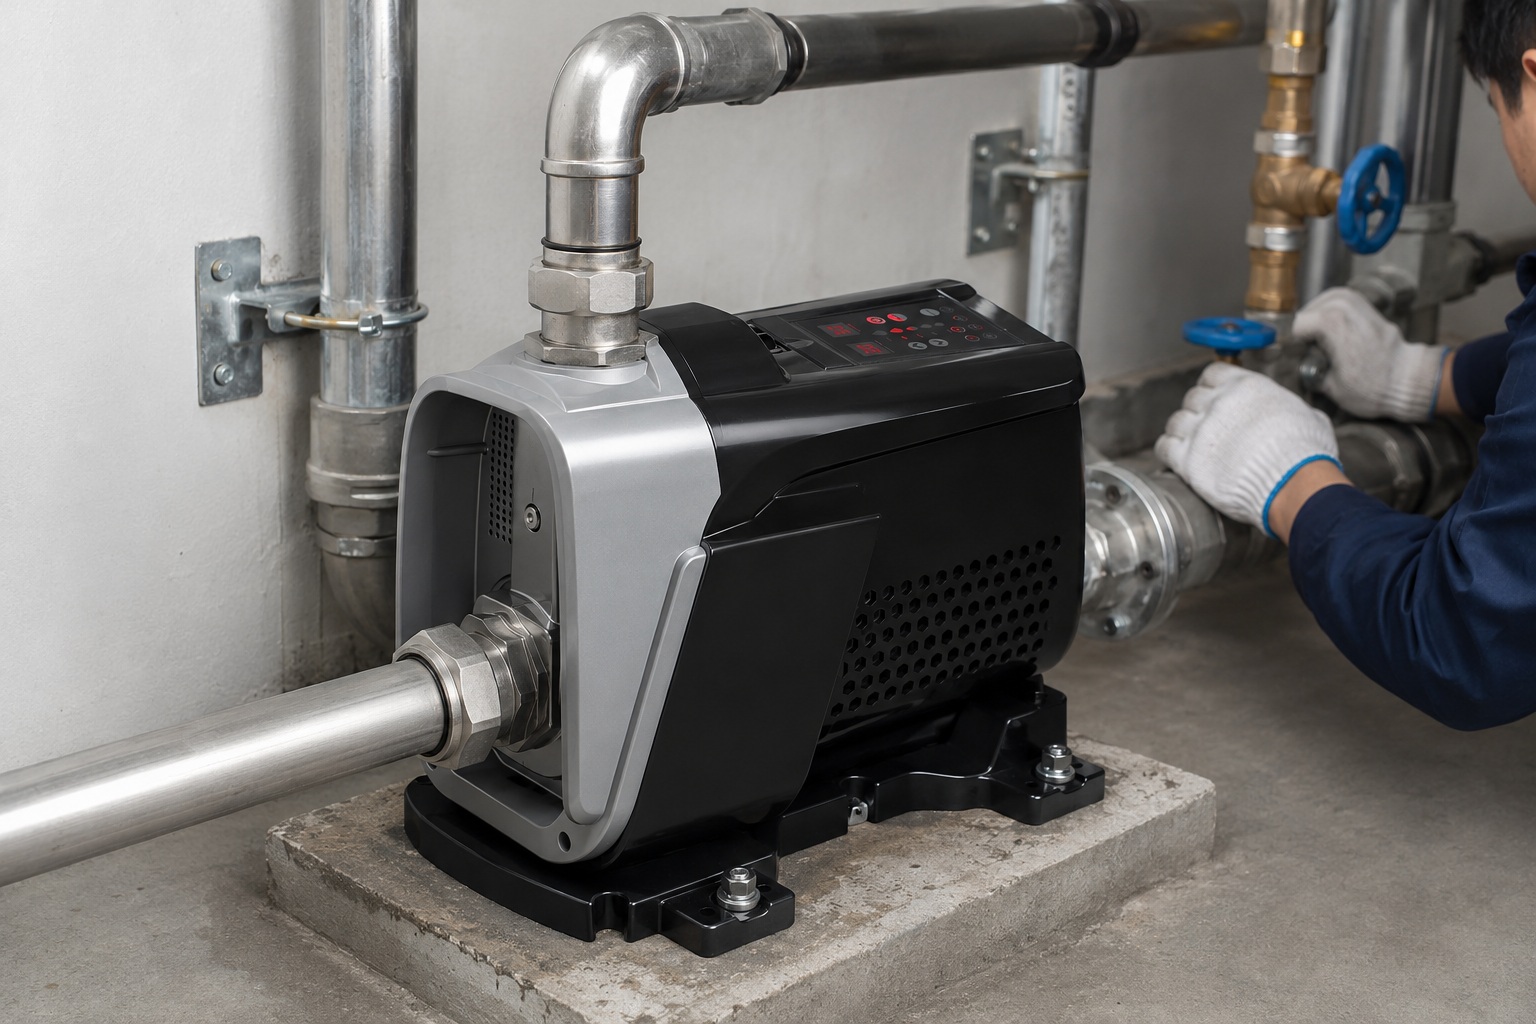
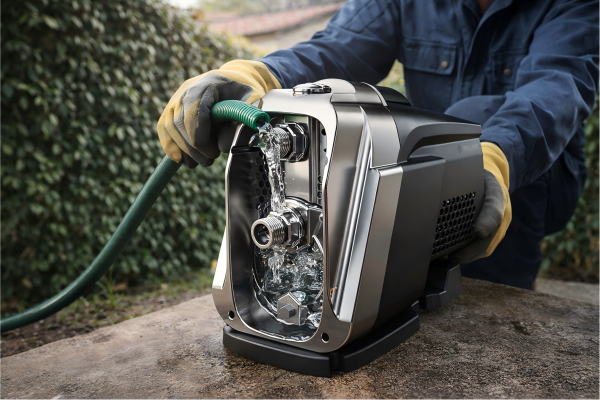
The pump's suction line is below the water level, but it still won't prime itself. This common setup error can be easily fixed with a straightforward manual priming method.
Manual priming involves using an external water source to fill the pump casing and suction line through a dedicated priming port. This method ensures all air is displaced before you attempt to start the pump, guaranteeing a successful and safe start-up.
Executing the Manual Priming Process
Manual priming is the most common method used for smaller systems or for initial start-up.
It requires attention to detail but is highly effective.
The process is simple, but every step is crucial for success.
Before you begin, ensure you have all necessary tools, including a funnel, a wrench to open plugs, and a sufficient supply of the liquid you will be pumping.
Safety must always be the top priority.
The Priming Checklist
Follow these steps methodically to ensure a complete and safe prime.
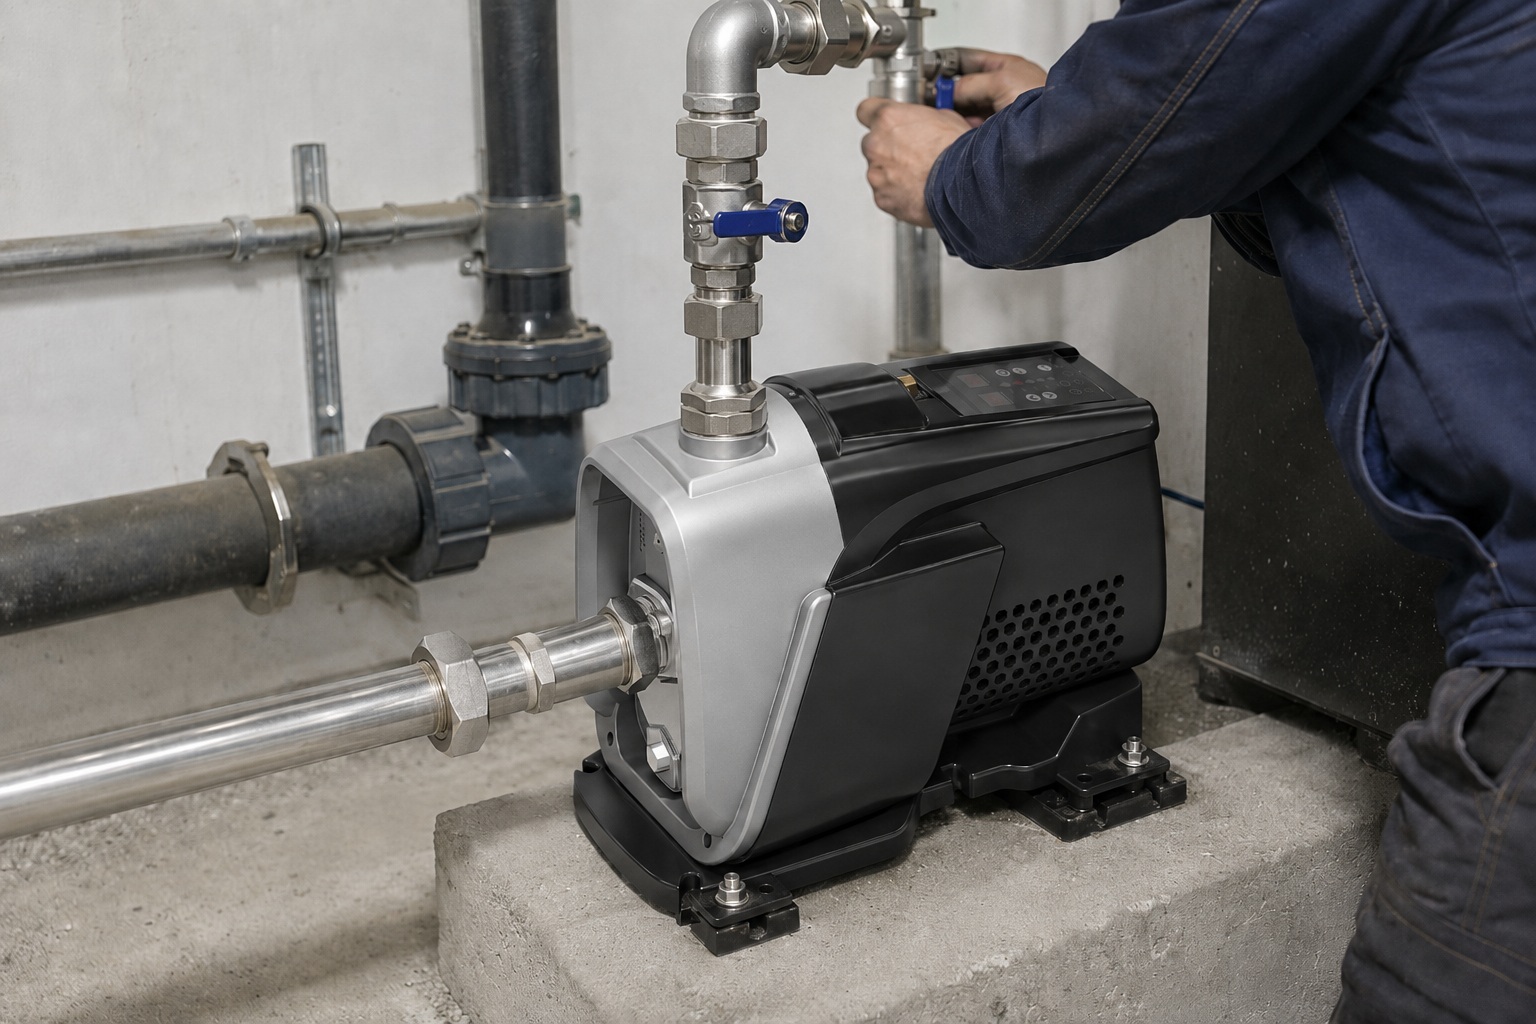
- Safety First: Isolate Power: Before performing any maintenance, completely disconnect the pump from its power source. Lock out and tag out the circuit breaker to prevent accidental start-up, which could cause injury and severe pump damage.
- Close the Discharge Valve: A closed discharge valve prevents water from simply flowing through the pump and out the discharge line. This allows the pump casing to fill completely. It also reduces the initial load on the motor upon start-up, preventing a pressure surge.
- Open Air Vents and Priming Plugs: Locate the priming plug at the highest point of the pump casing and any air vent valves on the casing or discharge piping. Opening these allows the trapped air to escape as you introduce liquid.
- Fill the Pump Slowly: Using a funnel, pour liquid into the priming port. Pour slowly and steadily to minimize air bubbles. Continue filling until a solid, bubble-free stream of water flows out of the air vent. This is your visual confirmation that the pump casing is 100% full. Industry best practice suggests using at least 1.5 times the volume of the pump casing to ensure a full prime.
- Close Vents and Plugs: Once full, securely tighten the priming plug and close all air vent valves. Check for any leaks around the plugs and fittings.
- Final Check and Start-up: Double-check that all connections are tight. Briefly start the pump (a "bump start" for 1-2 seconds) to confirm it is pumping. If successful, open the discharge valve slowly to about 25% to establish flow before opening it fully.
Common Mistakes in Manual Priming
Even a simple process has pitfalls.
Avoiding these common mistakes can save significant time and prevent damage.
| Mistake | Why It's a Problem | How to Avoid It |
|---|---|---|
| Forgetting to Close the Discharge Valve | The liquid will flow through the pump without filling it, resulting in an incomplete prime. | Always make closing the discharge valve your second step after isolating power. |
| Not Venting Air Properly | Trapped air pockets will remain in the casing, leading to air-binding and dry running. | Always open the highest vent point and wait for a steady stream of liquid before closing. |
| Filling Too Quickly | This can create air bubbles and turbulence, trapping air instead of displacing it. | Pour the priming liquid slowly and steadily to allow air to escape gradually. |
| Not Fully Filling the Suction Line | If the suction line isn't full, the pump will draw in air once it starts. | Ensure the suction line is equipped with a foot valve to hold the prime. |
Following this detailed procedure will ensure your multistage pump is primed correctly and ready for reliable service.
Exploring Automatic Priming Systems
Manually priming pumps is time-consuming and prone to human error, especially in critical applications. An automated system can provide a reliable, hands-off solution, eliminating these operational risks.
Automatic priming systems use devices like vacuum pumps or ejectors to automatically remove air from the suction line and pump casing. This ensures the pump is always primed before start-up without manual intervention, making it ideal for unattended or critical applications.
How Automatic Priming Adds Value
Automatic priming systems are more than a convenience; they are a strategic asset for ensuring system reliability and safety.
These systems are essential in applications where the pump must start automatically, such as in sump dewatering, fire suppression, or unmanned booster stations.
They work by creating a vacuum in the suction line, which draws the liquid up into the pump.
A sensor or float switch detects when the pump is full of liquid, at which point the priming system shuts off and the main pump is allowed to start.
This process guarantees a successful prime every time.
Implementing an automatic system can reduce labor costs by over 80% and virtually eliminate the risk of failure due to improper priming.
Types of Automatic Priming Systems
There are several technologies available for automatic priming, each with its own set of advantages and ideal use cases.
Choosing the right one depends on the application, the size of the pump, and the operating environment.
- Vacuum Priming Systems: This is the most common type. An auxiliary vacuum pump is connected to the high point of the pump casing. When the pump needs to start, the vacuum pump runs first, evacuating all air from the system until it is filled with liquid. A level switch then signals the main pump to start. These are highly reliable and can handle high suction lifts.
- Self-Priming Pumps (with internal chambers): While standard multistage pumps are not self-priming, some specialized designs incorporate a large chamber at the front of the pump. This chamber holds a reserve of liquid. Upon start-up, the pump uses this reserved liquid to create a vacuum and prime the suction line. These are effective but typically have lower efficiency (by 5-10%) than a standard pump.
- Ejector-Based Priming: This system uses a venturi ejector powered by a compressed air source or a separate liquid line. The high-velocity flow through the ejector creates a vacuum, which primes the pump. This method is simple, has no moving parts, and is excellent for environments where explosive gases may be present.
Here is a comparison of the different automatic priming methods.
| Priming Method | Mechanism | Pros | Cons | Best For |
|---|---|---|---|---|
| Vacuum Priming | External vacuum pump removes air. | Highly reliable, good for high suction lifts. | Requires an extra pump, more complex system. | Critical applications, unmanned stations. |
| "Self-Priming" Design | Internal liquid reservoir creates vacuum. | All-in-one unit, simple installation. | Lower efficiency, limited suction lift. | Small-scale, portable applications. |
| Ejector Priming | Venturi effect from compressed air/liquid. | No moving parts, intrinsically safe for hazardous areas. | Requires a separate source of compressed air/liquid. | Oil & gas, chemical plants. |
By investing in an automatic priming system, you transition from reactive maintenance to a proactive strategy that enhances operational uptime and protects your valuable equipment.
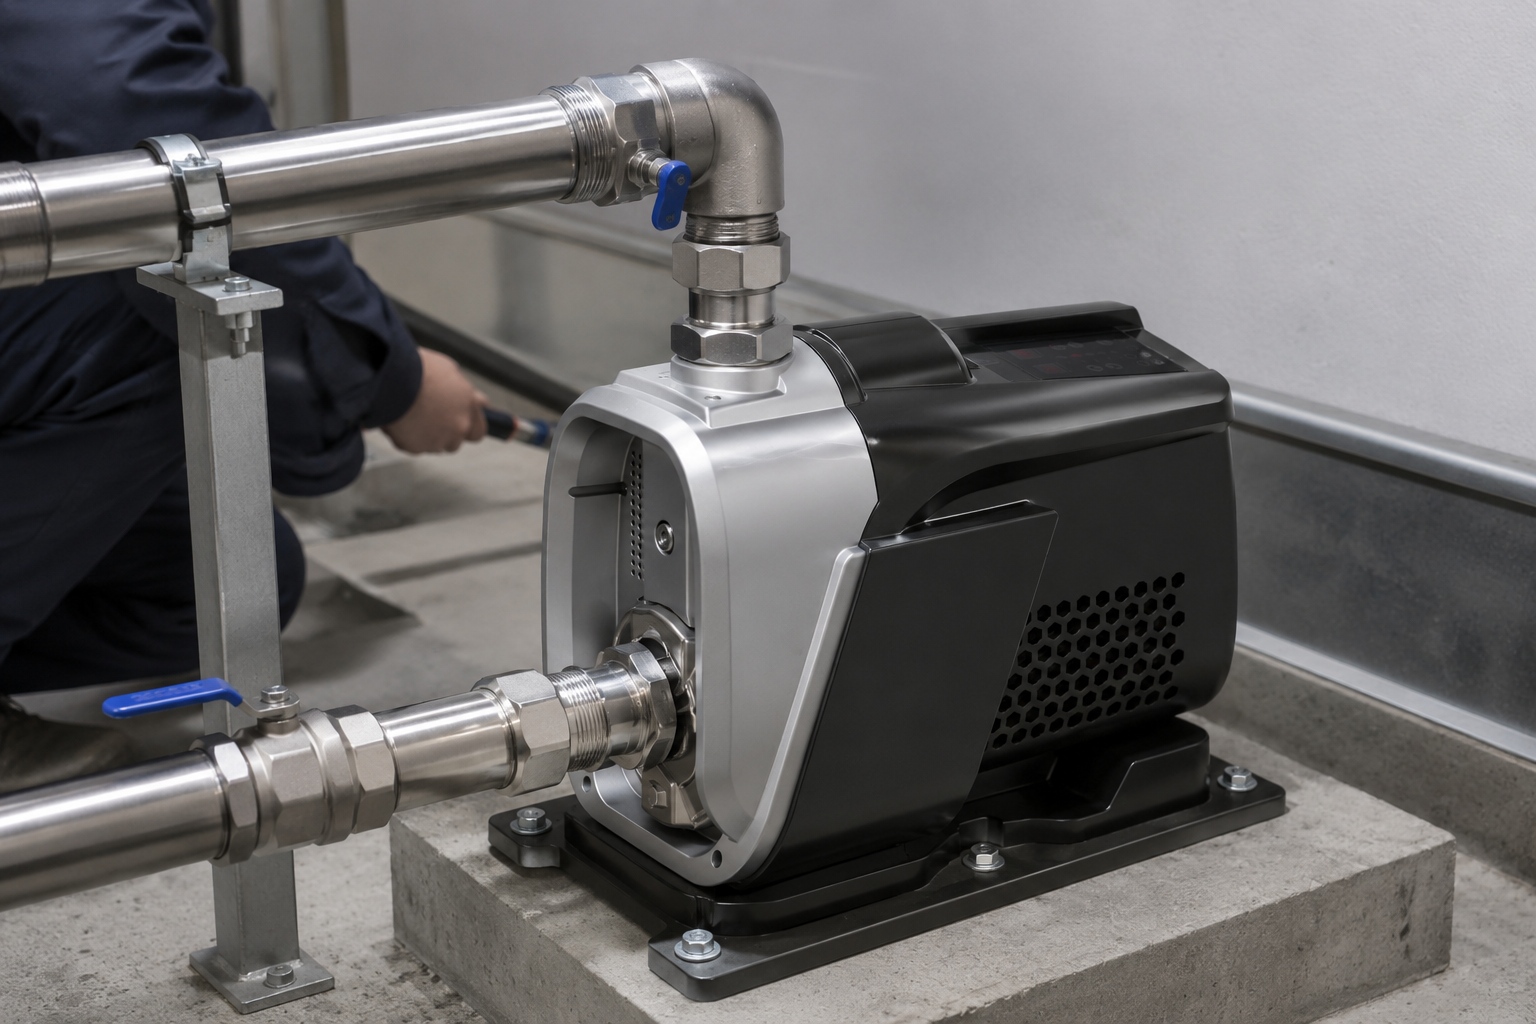
The Role of Foot Valves and Check Valves in Maintaining Prime
You've successfully primed your pump, but the next day it's lost its prime again. This common issue is often caused by a faulty or missing valve in the suction line.
A foot valve at the end of the suction line and a check valve on the discharge side are critical for maintaining prime. The foot valve prevents liquid from draining back out of the suction line, while the check valve stops backflow from the discharge side.
Understanding the Importance of Valves
Valves are the gatekeepers of your pumping system.
They control the direction of flow and are your first line of defense against losing prime when the pump is not running.
Without a functional foot valve, the liquid column in the suction pipe will drain back to the source due to gravity each time the pump shuts down.
This means you would have to re-prime the pump before every single start-up, which is impractical and inefficient.
A high-quality foot valve can maintain prime for weeks or even months, depending on the integrity of its seal.
A survey of pump operators revealed that 60% of recurring priming issues were resolved by simply replacing a worn or incorrectly sized foot valve.
Foot Valves vs. Check Valves: Key Differences and Placement
While both are non-return valves, their design and placement serve distinct purposes in a pumping system.
Understanding where and why to use each is crucial for system design.
The Foot Valve: Guardian of the Suction Line
A foot valve is a specific type of check valve installed at the very bottom (the "foot") of the suction line.
Its primary job is to hold water in the suction line and pump casing when the pump is off.
Key features include:
- Integrated Strainer: Most foot valves have a built-in screen or strainer on the inlet. This prevents debris like rocks, leaves, or sediment from entering and damaging the pump's sensitive impellers. Regular cleaning of this strainer is essential maintenance.
- Low Pressure Sealing: They are designed to create a tight seal even under the low back-pressure created by the column of water in the suction pipe.
The Check Valve: Protector of the Discharge Side
A check valve is installed on the discharge side of the pump.
Its main functions are:
- Preventing Backflow: When the pump stops, the check valve closes to prevent water from the pressurized discharge line from flowing backward through the pump.
- Protecting from Water Hammer: This backflow can cause the pump to spin in reverse, potentially damaging the motor and bearings. It also prevents the sudden pressure surge known as water hammer, which can rupture pipes and damage system components.
The following table clarifies the placement and function of each valve.
| Valve Type | Location | Primary Function | Secondary Function(s) |
|---|---|---|---|
| Foot Valve | At the end (inlet) of the suction line | To maintain prime by holding liquid in the line. | To strain out debris before it enters the pump. |
| Check Valve | On the discharge line, after the pump | To prevent backflow from the discharge system. | To protect the pump from reverse spin and water hammer. |
Using the correct, high-quality valves is not an area to cut costs.
A reliable foot valve and check valve system is a small investment that pays huge dividends in system reliability, reduced maintenance, and operational efficiency.
Conclusion
Properly priming your multistage pump is not just a preliminary step; it's the foundation for reliable, efficient, and long-lasting operation.
Master these techniques to protect your equipment and ensure performance.
FAQs
How do you know if a pump needs priming?
If the pump runs but produces no flow or pressure, and the motor sound is unusually quiet, it is likely air-bound. This indicates the pump needs to be primed immediately.
Can you over-prime a pump?
No, you cannot over-prime a pump using standard methods. Once the casing is full of liquid and all air is expelled, any additional liquid will simply exit through the vent port.
How do you prime a pump with a long suction line?
For a long suction line, fill it in sections if possible. A vacuum-assisted priming system is the most effective method, as it can evacuate air from the entire length of the pipe.
What happens if a centrifugal pump runs without priming?
Running a centrifugal pump without priming causes it to run dry. This leads to rapid overheating, which can destroy the mechanical seal and impellers in under a minute.
Does every centrifugal pump need priming?
Yes, nearly all standard centrifugal pumps, including multistage pumps, require priming. The only exceptions are specially designed self-priming pumps or submersible pumps, which are inherently primed by being underwater.
How often should a pump be primed?
A pump with a properly working foot valve should hold its prime indefinitely. If you need to re-prime it frequently, this indicates a leak in the suction line or a faulty foot valve.
Can I use the discharge line to prime the pump?
This is generally not recommended. It can be difficult to ensure all air is removed from the pump casing and suction line, leading to an incomplete and ineffective prime.