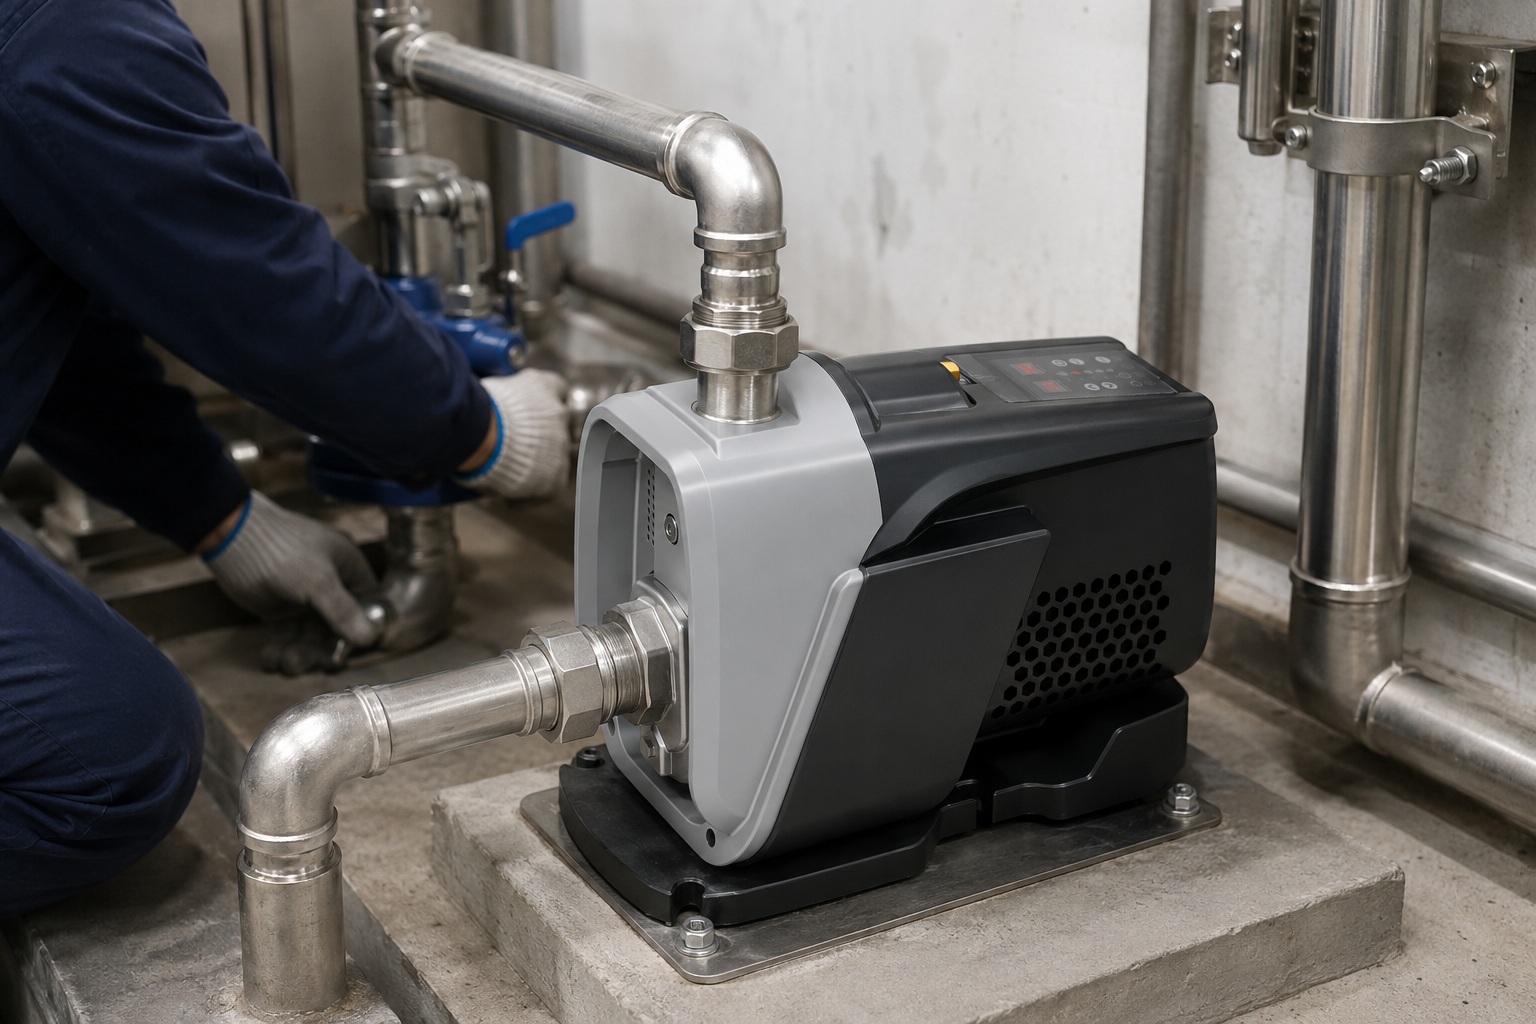
Struggling with an inefficient irrigation system?
An undersized pump fails to deliver water, while an oversized one wastes energy and money.
To size an irrigation pump, you must calculate two key factors: the total flow rate (in Gallons Per Minute or GPM) and the total dynamic head (TDH) in feet or meters. These calculations ensure your pump delivers the right amount of water at the correct pressure for your specific system.

Getting these calculations right is the difference between a thriving landscape and a costly mistake.
But don't worry, breaking down the process into simple steps makes it manageable for anyone.
This guide will walk you through each calculation, ensuring you have the data needed to select the perfect pump for your wholesale or project needs.
Let's dive into the specifics so you can make an informed, cost-effective decision.
Step 1: Determine Your Total Flow Rate (GPM)
Choosing the wrong flow rate can starve your crops or flood them.
This common problem leads to wasted water, poor yields, and unnecessary operational costs for your clients.
Calculate your total flow rate by determining the water needs of each irrigation zone and adding them up. The pump's capacity, measured in Gallons Per Minute (GPM), must exceed the demand of the single largest zone it will service at any one time.
Understanding your system's water demand is the first critical step.
This isn't just about the total area.
It involves looking at the specific types of emitters you use, like drip lines or sprinklers.
Each type has a unique flow rate.
Your goal is to ensure the pump can supply enough water to the most demanding section of your irrigation setup without being overworked.
Think of it as matching the supply to the peak demand.
Getting this right lays the foundation for an efficient and effective system.
A pump with a 10-15% higher flow rate than your calculated peak demand provides a good safety margin.
This buffer accounts for future system expansions or slight decreases in pump performance over time.
Why Is Flow Rate So Important?
Flow rate, often measured in Gallons Per Minute (GPM) or cubic meters per hour (m³/h), is the volume of water your pump can move in a set amount of time.
It directly impacts how quickly and effectively you can water your area.
An incorrect flow rate is one of the most common reasons for irrigation system failure.
If the flow rate is too low, sprinklers won't pop up or achieve their intended spray radius, leading to dry spots.
If it's too high, you risk creating excessive runoff, erosion, and water waste.
How to Calculate Flow Rate for Your System
The calculation depends on the type of irrigation you have.
Let's break it down for sprinklers and drip systems.
- For Sprinkler Systems:
- Identify the number of sprinkler heads in the largest zone that will run simultaneously.
- Find the GPM for each individual sprinkler head (this is usually printed on the head or available in the manufacturer's Sourcing Guide).
- Multiply the number of heads by the GPM per head.
| Number of Sprinkler Heads in Zone | GPM per Head | Total GPM for Zone |
|---|---|---|
| 10 | 2.5 | 25 GPM |
| 15 | 3.0 | 45 GPM |
| 20 | 1.5 | 30 GPM |
For example, if your largest zone has 15 sprinkler heads, and each uses 3.0 GPM, your required flow rate is 45 GPM (15 heads * 3.0 GPM/head).
Your pump must be able to deliver at least 45 GPM.
- For Drip Irrigation Systems:
- Determine the total length of your drip tubing in the largest zone.
- Find the flow rate of the emitters (e.g., gallons per hour, GPH).
- Find the spacing of the emitters on the tubing.
- Calculate the total GPH and convert it to GPM.
Let's say a zone has 1,000 feet of drip tubing with 0.5 GPH emitters spaced every 2 feet.
- Number of emitters = 1,000 ft / 2 ft = 500 emitters
- Total GPH = 500 emitters * 0.5 GPH/emitter = 250 GPH
- Total GPM = 250 GPH / 60 minutes = 4.17 GPM
In this case, a pump providing just over 4 GPM would be sufficient for this drip zone.
Accurately calculating flow rate ensures every part of your irrigation system performs as designed.
Step 2: Calculate Total Dynamic Head (TDH)
Are you confused by terms like "head" and "pressure"?
Choosing a pump without understanding these factors can lead to it either failing to push water uphill or being so powerful it damages your pipes.
Total Dynamic Head (TDH) is the total equivalent height that water must be lifted, considering vertical distance (static head) and pressure losses from friction. It is calculated by adding the static head, pressure head, and friction loss, and it determines the pressure your pump must generate.
Total Dynamic Head, or TDH, is the "work" your pump needs to do.
It's the sum of all the resistance the pump must overcome to move water from its source to the final destination.
Miscalculating TDH is as bad as getting the flow rate wrong.
A pump with insufficient TDH won't be able to deliver water with enough pressure to operate sprinklers.
A pump with excessive TDH can cause leaks, burst pipes, and significant energy waste, increasing long-term costs.
Let's break down the three components of TDH to make this calculation clear and straightforward.
Component 1: Static Head
Static head is the simplest part of the equation.
It's the vertical distance in feet or meters that you need to lift the water.
It has two parts:
- Static Lift Head: The vertical distance from the water source's surface (like a well or reservoir) up to the pump's centerline.
- Static Discharge Head: The vertical distance from the pump's centerline up to the highest point in your irrigation system.
Total Static Head = Static Lift Head + Static Discharge Head
For example, if your pump is 15 feet above the water in your well and the highest sprinkler is 10 feet above the pump, your Total Static Head is 25 feet (15 + 10).
This represents the bare minimum work needed to overcome gravity.
Component 2: Pressure Head
Your irrigation system needs to operate at a specific pressure.
Sprinklers, for instance, might require 30-50 pounds per square inch (PSI) to function correctly.
The pump must create this pressure.
"Pressure Head" is simply the conversion of this required operating pressure into an equivalent height of water.
The conversion is easy:
Pressure Head (in feet) = Required Operating Pressure (in PSI) x 2.31
If your sprinklers need 40 PSI to operate, the pressure head is 92.4 feet (40 PSI * 2.31). This means the pump must do the equivalent work of lifting water an additional 92.4 feet into the air just to create that pressure.
Component 3: Friction Loss Head
As water moves through pipes, valves, and fittings, it rubs against the inside surfaces.
This creates friction, which slows the water down and reduces pressure.
The pump must overcome this resistance.
This is called "Friction Loss Head."
Calculating it involves a few steps:
- Measure Pipe Length: Determine the total length of pipe from the pump to the furthest point in the zone.
- Identify Pipe Size and Type: Note the diameter and material (e.g., PVC, Poly).
- Count Fittings: Tally all the elbows, tees, and valves in the system.
- Use a Friction Loss Chart: These charts, widely available from pipe manufacturers, tell you the friction loss in feet of head per 100 feet of pipe for a given flow rate (GPM) and pipe size.
Friction Loss Table (Example for PVC Pipe at 40 GPM)
| Pipe Diameter (inches) | Friction Loss (feet per 100 ft) |
|---|---|
| 1.0" | 15.6 |
| 1.5" | 4.2 |
| 2.0" | 1.5 |
| 2.5" | 0.6 |
As you can see, a larger pipe diameter dramatically reduces friction loss.
Using a pipe that is too small for your flow rate is a common and costly mistake, forcing you to buy a much more powerful pump.
Finally, add a percentage (usually 10-20%) for losses through fittings.
Putting It All Together: The TDH Formula
Now, you just add the three components together.
TDH = Total Static Head + Pressure Head + Total Friction Loss Head
Let's use our examples:
- Total Static Head = 25 feet
- Pressure Head = 92.4 feet (for 40 PSI)
- Total Friction Loss Head = Let's assume for a 500-foot pipe run it comes out to 18 feet.
TDH = 25 + 92.4 + 18 = 135.4 feet
With a required flow of 45 GPM and a TDH of 135.4 feet, you now have the exact performance point you need.
Step 3: Match Your Needs to a Pump Performance Curve
You have your numbers, but how do you pick the right pump from a catalog?
Looking at a page of pump models without understanding their performance curves is just guessing, and that can lead to buying the wrong equipment for your clients.
Use your calculated GPM and TDH to find the "duty point" on a pump performance curve. Select a pump where this duty point falls near the Best Efficiency Point (BEP), ensuring optimal performance, energy savings, and a longer pump lifespan.
The pump performance curve is the most important tool for selecting a pump.
It's a graph provided by the manufacturer that shows a pump's capabilities.
It maps the relationship between the flow rate (GPM) on the horizontal axis and the head (pressure) it can generate on the vertical axis.
Ignoring this chart is like buying a car without knowing its horsepower or fuel efficiency.
You might get a pump, but it probably won't be the right one.
By plotting your required GPM and TDH, you can see exactly how a specific pump model will perform in your system.
Understanding the Pump Curve
A pump curve tells a story about the pump's performance.
Here are the key elements to look for:
- Flow (GPM or m³/h): This is on the X-axis (horizontal).
- Head (Feet or Meters): This is on the Y-axis (vertical).
- The Curve Itself: This line shows the inverse relationship between flow and head. At maximum head (also known as shut-off head), the flow is zero. As you allow more flow, the head the pump can produce decreases.
- Best Efficiency Point (BEP): This is the point on the curve where the pump operates most efficiently, converting the most electrical energy into water movement. Operating at or near the BEP is crucial.
- Efficiency Lines: Often shown as islands or contour lines on the chart, these indicate the pump's efficiency percentage. Your goal is to land in the highest percentage area possible, typically 75-85% for high-quality pumps.
- Power (HP or kW): Sometimes, a separate curve shows the horsepower required at different points along the performance curve.
How to Plot Your Duty Point
Your "duty point" or "design point" is the intersection of your required flow rate and your required TDH.
- Find Your Flow Rate: Go along the horizontal axis to your calculated GPM (e.g., 45 GPM).
- Find Your TDH: Go up the vertical axis to your calculated TDH (e.g., 135.4 feet).
- Plot the Point: Find where these two values intersect on the graph.
The critical question is: Where does your duty point land?
- On the Curve: If it lands directly on a pump's performance curve, that pump is a potential match.
- Below the Curve: If your point is below the curve, the pump is too powerful. It will produce more pressure than you need, wasting energy and potentially stressing your system. While sometimes acceptable if close, it's not ideal.
- Above the Curve: If your point is above the curve, the pump is not powerful enough. It cannot deliver the required flow at the required pressure. This pump will fail in your application.
Selecting for Efficiency
The best choice is a pump where your duty point falls on the curve and is as close as possible to the Best Efficiency Point (BEP).
Operating away from the BEP has negative consequences:
- Increased Energy Consumption: Efficiency drops off significantly, meaning higher electricity bills. An efficiency drop of just 10% can add up to thousands of dollars over the pump's life.
- Higher Vibration and Noise: An imbalanced hydraulic load increases wear and tear.
- Reduced Bearing and Seal Life: Increased radial thrust on the impeller leads to premature failure of key components.
When you present a pump to a client like Andrew in Australia, showing him that your selected model places his system's duty point right at the BEP of 82% is a powerful sales tool.
It demonstrates you're not just selling a product; you're providing a highly-optimized, cost-effective solution that prioritizes long-term value and reliability.
This is the level of technical detail that builds trust and secures B2B partnerships.
Conclusion
Sizing an irrigation pump correctly involves calculating your total flow rate (GPM) and Total Dynamic Head (TDH), then matching these values to a pump curve for optimal efficiency and longevity.
Frequently Asked Questions
What happens if my pump is oversized?
An oversized pump consumes excess energy, can cause high pressure that damages pipes and emitters, and may lead to premature component failure due to operating away from its BEP.
What happens if my pump is undersized?
An undersized pump will fail to deliver the required water pressure. This results in poor sprinkler coverage, dry spots in your field, and an overall inefficient irrigation system.
How does pipe size affect pump selection?
Smaller pipes cause significantly more friction loss. This increases your Total Dynamic Head (TDH), forcing you to buy a larger, more expensive pump to do the same job.
Can I use one large pump for multiple small zones?
Yes, but the pump must be sized for the single largest zone's demand. For significantly different zone sizes, using a Variable Speed Drive (VSD) pump is more energy-efficient.
What is a pump performance curve?
It's a graph from the manufacturer showing a pump's output capacity. It plots the relationship between flow rate (GPM) and pressure (head) to help you select the right model.
Why is the Best Efficiency Point (BEP) important?
Operating a pump at its BEP ensures maximum energy efficiency, lower operational costs, reduced vibration, and a longer lifespan for bearings and seals. It is the ideal operational point.
How much of a safety factor should I add?
It's wise to add a 10-15% safety margin to your TDH calculation. This accounts for future decreases in pump performance over time and minor miscalculations in friction loss.
Is static head the same as TDH?
No. Static head is only one component of TDH. It is the vertical elevation change, while TDH also includes the pressure required and all friction losses within the system.